On the last September 18th, Brian at Epic Edits Weblog started a group project asking his readers to edit his photo.
I though this was one of the most interesting projects that I’ve seen around the photography blogs for some time. The reason is simple: from a starting point, how many interpretations can be originated?
Of course that such a project requires more of a Photoshop (or other photo editing software) knowledge and less camera handling, but as we have been seeing, in silico processing is a major part of photography.
Problem 1: of course that I saw the project a long time ago (actually on the day Brian posted it) but I was always thinking, and as he noted, 3 weeks is a long time… Wrong, never leave the things you want to do for the last minute. Postponing is never the solution.
Problem 2: emails work very well up to the point that they don’t. I’ve asked Brian for the original on the 4th but it seems that he never got that message. Finally, today email decided to work.
Result: Compensating for the time differences, instead of doing a good job, I’m just going to use shortcuts and adjust as I go… I’m not thinking this will be a very good result, but at least I’ve tried.
So, I’ll be writing as I go (also not a good idea) and try to meet the deadline.
Here we go…
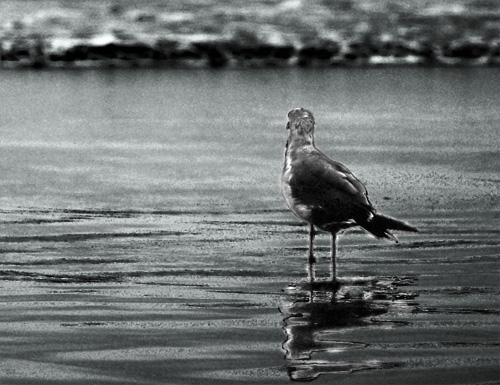
1. The original…
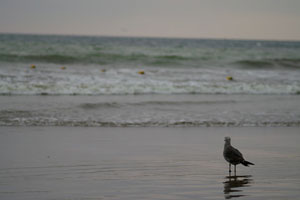
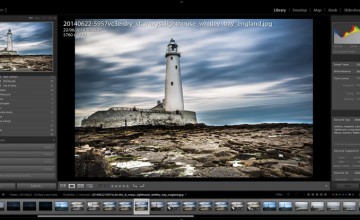
2. Opening the RAW in Lightroom.
My first impressions: the photo was taken in color but due to poor color diversity and saturation, the result was not very color appealing (sky, sea and wet sand all share the same tone). My first reaction is turning it into a grayscale image (of course that, as I mentioned before, I’m partial to B&W photography) so that is the path I’m taking. I’m also planning to make extreme adjustments to create a more texture feeling.
3. Lightroom adjustments
Since the focal object is the seagull (it is a seagull, right?) I want to highlight it somehow. Also, there are some objects (buoys?) floating just beneath the waves. Somehow I feel that they might make nice contrast points on the sea “texture”.
To achieve it, here are my final values for Lightroom:
- Temp: 6650
- Tint: -2
- Exposure: 0.0
- Recovery: 58
- Fill Light: 25
- Blacks: 28 (mainly to compensate for the poor contrast resulting from the Fill light)
So far this is what I got:
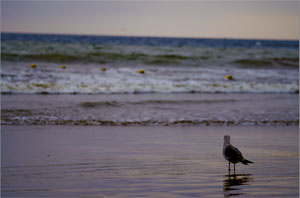
Note how much information the RAW has that can be pulled out. Now we have a more extended color range, texture has been improved and the bird has much more detail.
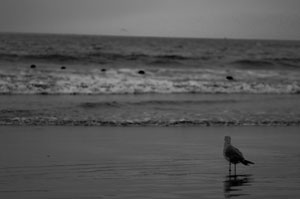
Time to loose the color and go grayscale. Even if we loose the color, the “warmth” can be adjusted. If I was going for color, my choice would be to go as cold as possible. Again, this is my objective from the very first feeling I had when I saw the photo. Many other choices are equally valid and good.
Going cold:
- Red: -76
- Orange: -53
- Yellow: -88
- Green: -81
- Aqua: +4
- Blue: +51
- Purple: -48
- Magenta: -48
So far:
4. And going Photoshop
The true sport begins now. What to do from here? Looking at what I have, I want to increase the contrast and separation between shadows and highlights… Let’s see.
At this moment, I’ve played a bit but I’m not happy at all… One of the reasons is that, wherever I go, I tend to be more attracted to the sea than the bird. Soooo… let’s do something with the background and try later to just minimize the bird and blend it with the surroundings. This requires and extreme approach. As I mentioned above, as soon as I saw this image I imagined an extreme makeover, turning it surreal…
I won’t post step by step pictures but I’ll try to describe what I’m doing as I go…
First thing I did was to duplicate the background layer and blend it as Overlay with 90% opacity. This creates a high contrast image (as intended), clearly separating sky from sea from foam.
Next step was to “minimize the damage” to the original image. I achieved this by adjusting curves in the background layer in a way that I had good detail on the bird (to help in this step a trick is to turn the duplicate layer to 0% opacity and restoring it after the adjustment). Now, I’ve created a layer mask, revealing all the superposed layer. Remember that the objective is to turn the image extreme without loosing detail on the bird. So, on the mask layer, I’ve erased the bird and it’s reflection using a 10px eraser (as you see not so careful, but can’t invest much time on this if I want to make it before the deadline).
So far, we have a high contrast image, even extreme, with the seagull not loosing detail. But the seagull doesn’t fit too well to the image since there is still some dullness in the mask. I overcame this by using the doge tool set to highlights on the background layer in order to increase contrast on the seagull and corresponding reflection. Note that the blown contours are also seen on the reflection. This is needed to keep the effect intended.
The next step was unexpected even for me. I’ve noticed that I can achieve more of the extreme painting effect by actually adding some color to it. So, on the foreground layer I used the channel mixer to reduce the green on the red channel by 6%.
The result is an even more cold image, a bluish gray. I did it on the foreground layer to keep the seagull in monochrome separating it more from the background.
The last step was done to increase the dreaming effect. 25% noise (yes, people try to reduce the noise and I increase it…).
The final result, after 45 minutes of editing and writing, is shown bellow. I hope you like it…
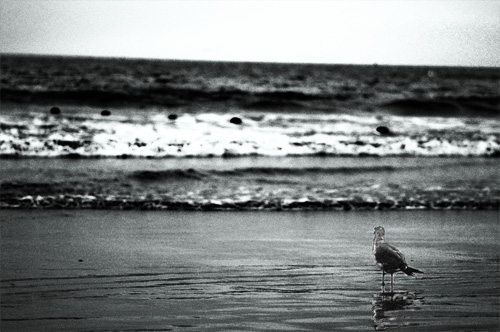
On a final note, and I don’t know how allowed this is according to Brian’s rules, I’ve tried cropping it to highlight the seagull and the result was not so bad. Nonetheless, the above image is my final entry to Brian’s project.
And that is all for image editing for today… pufff…
Brian Auer
October 10, 2007 at 6:47 am
Good stuff man, I like how you toyed around with several ideas before coming to your final choice. As for the rules… there aren’t any as far as what you can or can’t do with it. Anything goes!
Pingback: 28 ways to process/improve/hack/play a photo